1Password Cliの使い方
1Password Cliのサインイン方法を全く覚えられないのでメモ。
How to Install
via Homebrew for macOS
brew cask install 1password-cli で入ります。
$ brew cask info 1password-cli
1password-cli: 0.5.7
https://support.1password.com/command-line/
/usr/local/Caskroom/1password-cli/0.5.7 (2 files, 10.1MB)
From: https://github.com/Homebrew/homebrew-cask/blob/master/Casks/1password-cli.rb
==> Name
1Password CLI
==> Artifacts
op (Binary)
from Zip archive
Linux 向けに Zip アーカイブも提供されており、展開して出てきた op ファイルを PATH が通ったところに置くだけです。
バイナリぽん置き大好き!
https://app-updates.agilebits.com/product_history/CLI
mazgi on early-times in ~
❯ file op_linux_amd64_v0.6.2.zip
op_linux_amd64_v0.6.2.zip: Zip archive data, at least v2.0 to extract

mazgi on early-times in ~
❯ unzip -l op_linux_amd64_v0.6.2.zip
Archive:  op_linux_amd64_v0.6.2.zip
  Length      Date    Time    Name
---------  ---------- -----   ----
  9003392  09-23-2019 13:31   op
      566  09-23-2019 13:32   op.sig
---------                     -------
  9003958                     2 files
How to Sign-in
1Password の Cli である op コマンドを --help 付きで実行するとこういうメッセージが表示されます。
$ op signin --help
usage: op signin <signinaddress> <emailaddress> <secretkey> [--output=raw]
「shell の履歴に <secretkey> が残るのはいやだなぁ」って思いますよね。
実は"1Password command-line tool: Getting started“をみると email まで入れればいいことがわかります。
実際に試すとこんな感じ。
$ op signin my your-email@example.com
Enter the Secret Key for your-email@example.com at my.1password.com: ********
Enter the password for your-email@example.com at my.1password.com:
export OP_SESSION_my="********"
# This command is meant to be used with your shell's eval function.
# Run 'eval $(op signin my)' to sign into your 1Password account.
# If you wish to use the session token itself, pass the --output=raw flag value.
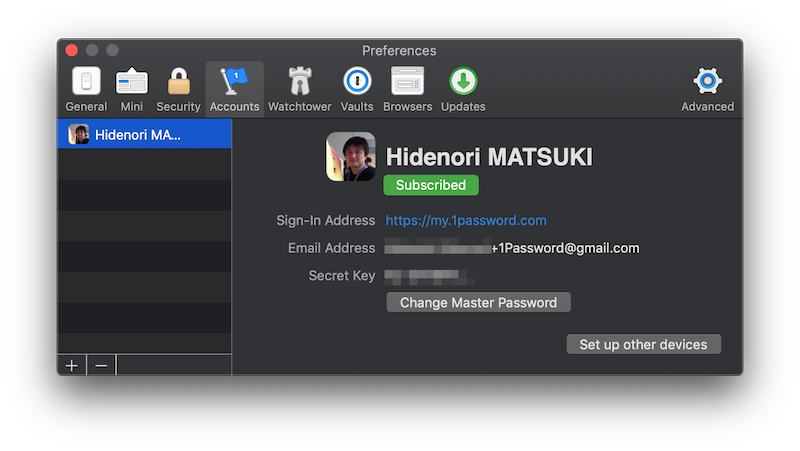
password 以外の情報は 1Password GUI の Preferences > Accounts で確認できます(macOS の場合)。
以降は op signin <subdomain> を eval するだけで使えます。
$ eval $(op signin my)
Enter the password for your-email@example.com at my.1password.com:
$OP_SESSION_my が export されていればよいということですね。
Session tokens expire after 30 minutes of inactivity, after which you’ll need to sign in again.
と書かれているので 30 分経つと再度 sign-in が必要なようです。
How to Get my secrets
次に Item の取得方法です。
Password などテキスト情報
仮に Password を生成して Cli から取得してみます。
生成された Password は [WXjMEZyK7ABDEbid6J+wcwc です。
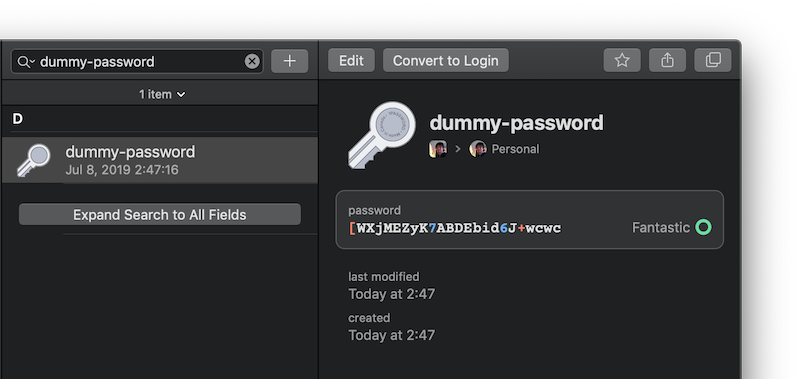
op get item するとこんな感じで色々含まれた JSON が返ってきます。
$ op get item dummy-password | jq .
{
  "uuid": "********",
  "templateUuid": "005",
  "trashed": "N",
  "createdAt": "2019-07-07T17:47:16Z",
  "updatedAt": "2019-07-07T17:47:16Z",
  "changerUuid": "********",
  "itemVersion": 1,
  "vaultUuid": "********",
  "details": {
    "password": "[WXjMEZyK7ABDEbid6J+wcwc",
    "sections": [
      {
        "name": "linked items",
        "title": "Related Items"
      }
    ]
  },
  "overview": {
    "ainfo": "Jul 8, 2019 2:47:16",
    "pbe": 126.09859470409585,
    "pgrng": true,
    "ps": 100,
    "title": "dummy-password"
  }
}
のでこんな感じで取り出せます。
$ op get item dummy-password | jq --raw-output '.details.password'
[WXjMEZyK7ABDEbid6J+wcwc
ファイル
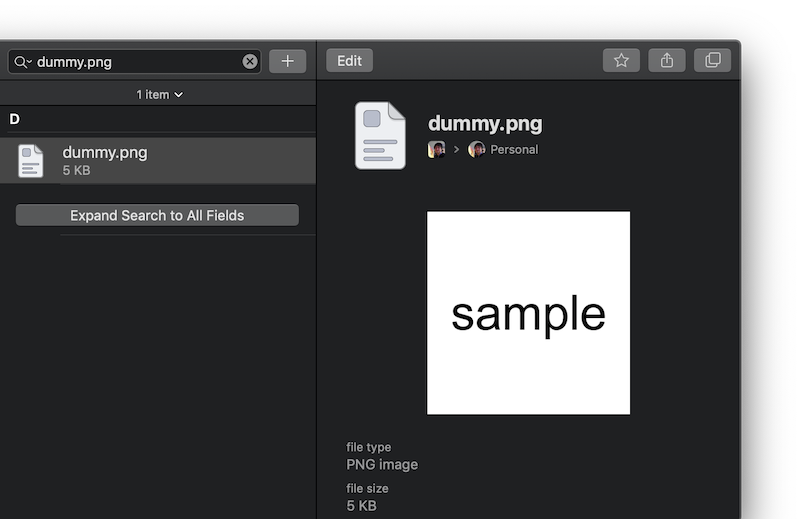
次にファイルです。
こんな感じでダミーの PNG ファイルを用意して 1Password に登録します。
$ convert -size 400x400 xc:white dummy.png
$ convert dummy.png -gravity Center -pointsize 96 -annotate 0 'sample' dummy.png
$ file dummy.png
dummy.png: PNG image data, 400 x 400, 8-bit grayscale, non-interlaced
$ shasum dummy.png
46d1200fb4decde6fb8cf0c83c794f0182c06025  dummy.png
op get document するとバイナリが返ってきます。
$ op get document dummy.png | od -cx | head
0000000  211   P   N   G  \r  \n 032  \n  \0  \0  \0  \r   I   H   D   R
             5089    474e    0a0d    0a1a    0000    0d00    4849    5244
0000020   \0  \0 001 220  \0  \0 001 220  \b  \0  \0  \0  \0 245 324   i
             0000    9001    0000    9001    0008    0000    a500    69d4
0000040  020  \0  \0  \0 004   g   A   M   A  \0  \0 261 217  \v 374   a
             0010    0000    6704    4d41    0041    b100    0b8f    61fc
0000060  005  \0  \0  \0       c   H   R   M  \0  \0   z   &  \0  \0 200
             0005    0000    6320    5248    004d    7a00    0026    8000
0000100  204  \0  \0 372  \0  \0  \0 200 350  \0  \0   u   0  \0  \0 140
             0084    fa00    0000    8000    00e8    7500    0030    ea00
なので任意の Path に保存します。
$ export OUT=$(mktemp)
$ op get document dummy.png > $OUT
$ file $OUT
/var/folders/fy/x8tlg_js6fz8xk0gpxlwfm_r0000gn/T/tmp.nh8WNiUq: PNG image data, 400 x 400, 8-bit grayscale, non-interlaced
ちゃんとファイルを取り出せました。
$ shasum dummy.png $OUT
46d1200fb4decde6fb8cf0c83c794f0182c06025  dummy.png
46d1200fb4decde6fb8cf0c83c794f0182c06025  /var/folders/fy/x8tlg_js6fz8xk0gpxlwfm_r0000gn/T/tmp.nh8WNiUq